Integrating SAP CAP with n8n using OData: Local Installations
Introduction
Here we look at integrating SAP Cloud Application Programming (CAP) with n8n and interact with your CAP services. In this guide, we’ll set up a local CAP project and connect it to n8n using the SAP OData connector. Original article here.
Prerequisites
Node.js and npm
n8n installed
Basic OData and REST knowledge
Git
Setting Up Local CAP Project
Install the CAP development toolkit globally using the following:
npm add -g @sap/cds-dkThis provides the cds command-line tools needed to develop and run CAP applications.
We’ll use SAP’s official bookshop example project which you can clone as follows:
git clone https://github.com/capire/bookshop
cd bookshop
Install the dependencies:
npm installDeploy the SQLite database:
cds deployFinally we can run the server as follows:
cds watchThe server will start on
http://localhost:4004
with hot-reloading enabled. You can verify that the service is running by querying the Books:
curl http://localhost:4004/browse/BooksYou should receive a JSON response with a list of books from the sample data.
You can also open
http://localhost:4004
in your browser to see the CAP service index page with all available endpoints.
Installing SAP OData Node for n8n
The n8n-nodes-sap-odata package provides OData connectivity from within n8n and is specifically designed for SAP systems.
Install it in your n8n custom nodes directory as follows:
cd ~/.n8n/nodes
npm install github:sseegebarth/n8n-nodes-sap-odata
Alternatively you can install it globally:
npm install -g n8n-nodes-sap-odataNext, we need to configure n8n for Local Connections because n8n blocks connections to private IP addresses by default. Enable local connections with an environment variable:
export ALLOW_PRIVATE_IPS=trueYou can now Restart n8n. You can now search for the new node:
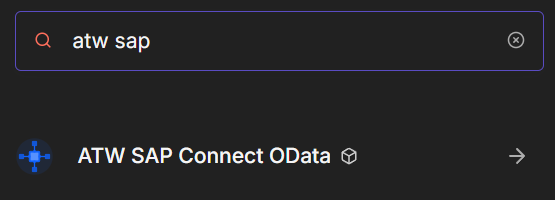
If you do not find it it might help to refresh the browser.
Creating the Integration Workflow
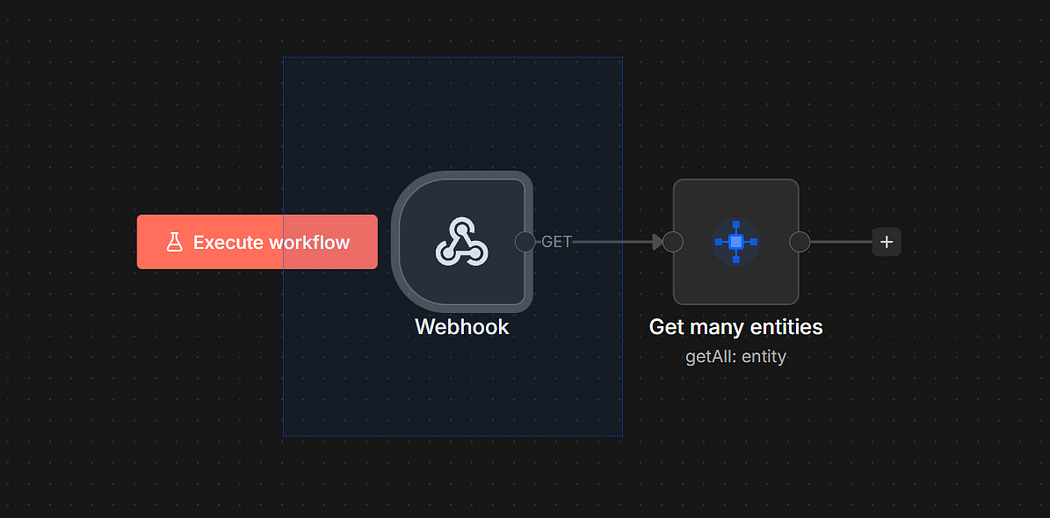
Webhook Trigger
First, create a webhook trigger and configure as follows:
HTTP Method: GET
Path:
saptestResponse Mode: When Last Node Finishes
This creates an endpoint at http://localhost:5678/webhook/saptest, which we will call later.
Next, add the ATW SAP Connect OData node to your workflow and configure.
Connection Settings:
Service URL:
http://localhost:4004/browseAuthentication: None (for local development)
Allow Insecure SSL: Enabled (for local testing)
Query Configuration:
Entity Set:
BooksOperation: Read (GET)
Select Fields: Leave empty to retrieve all fields, or specify the fields you want (comma seperated)
Filter: Optional, e.g.,
stock gt 100to filter books with stock > 100Top: Optional, e.g.,
10to limit results
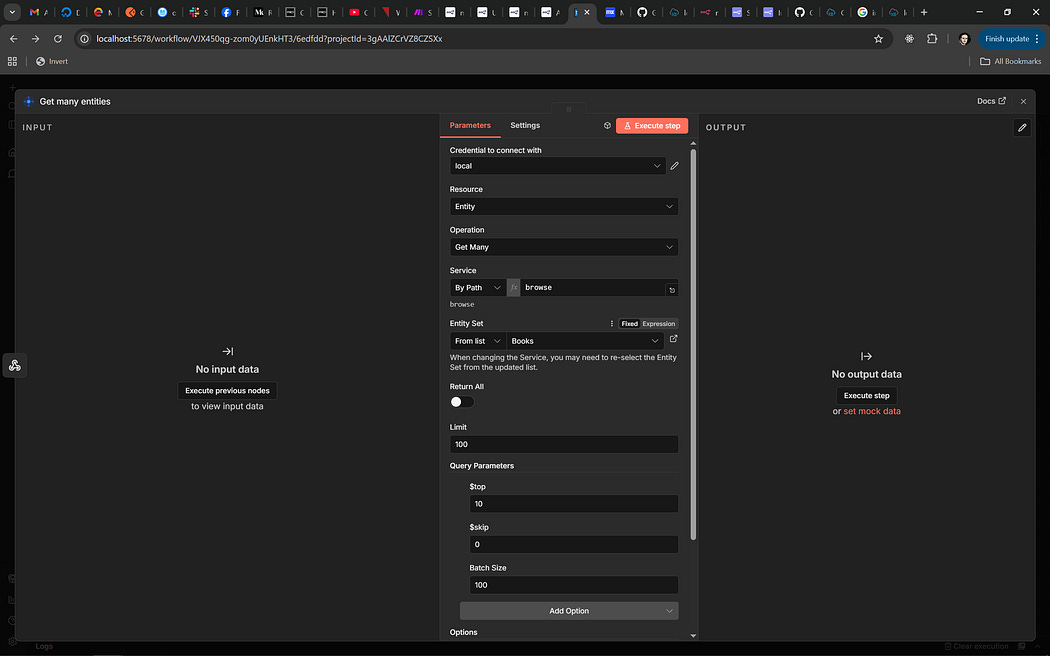
SAP Node Configuration
You can also experiment with the advanced Options:
Format: JSON
Expand: Leave empty unless you need related entities
Next, you can click the Active toggle in the top-right corner to activate your workflow and then trigger your workflow by calling the webhook as follows:
curl http://localhost:5678/webhook/saptestYou should receive a JSON response containing books from your CAP service.
Example response:

Example Response


Comments
Post a Comment