Using Redis with Mendix

Introduction
Redis is an in-memory data structure store that can be used as a database, cache, message broker, or streaming engine. Redis is a key-value store that supports various data structures. Performance is very good because the data is stored in RAM.
Original article available here.
Installing Redis
For Linux, you can use the following:
sudo apt update
sudo apt install redis-server
For macOS, use the following:
brew install redisYou can also use docker:
docker pull redisWith Redis installed, you can start the server using the following:
redis-serverIf you used docker, start Redis using the following:
docker run --name local-redis -p 6379:6379 -d redisBy default, Redis runs on port 6379.
The redis-cli
The redis-cli is Redis’s command-line tool for interacting with the server.
Connect to your Redis instance:
redis-cliOnce connected, you can run Redis commands. Here are some examples:
SET foo “Test 123”
GET foo
You can also use redis-cli in non-interactive mode.
redis-cli set foo “Test 123”
redis-cli get foo
Mendix Integration
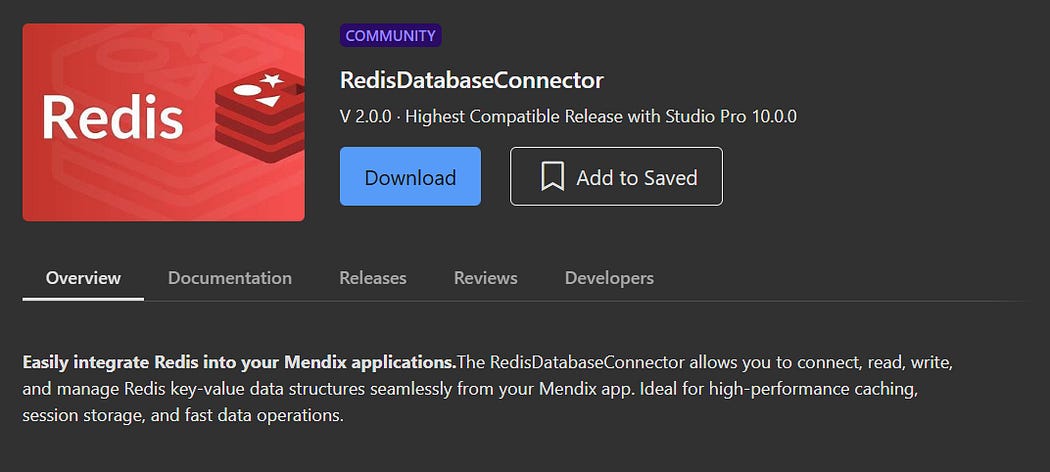
To use Redis in Mendix, start by adding the RedisDatabaseConnector from the Mendix Marketplace:
Marketplace Module
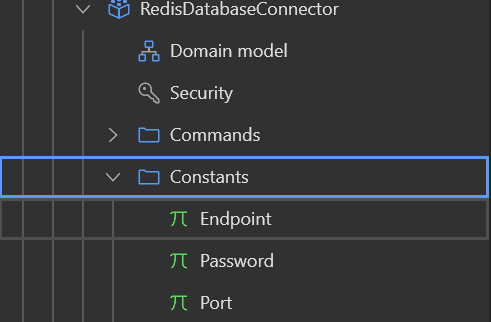
Once installed, configure the RedisDatabaseConnector module constants:
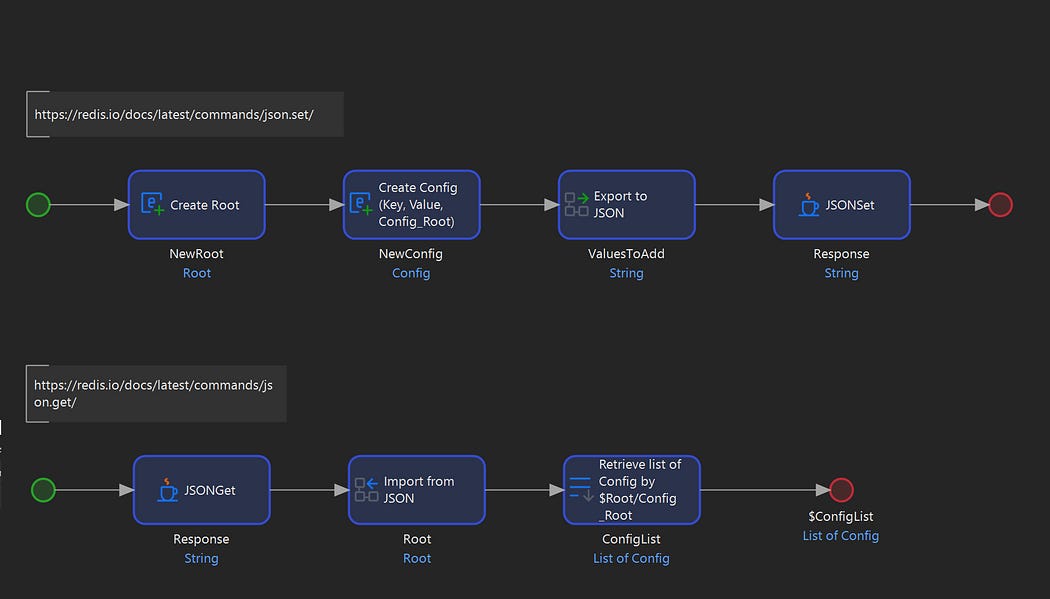
To find out how the module works, take a look at the UseMe / JSON / Microflows directory.
Basic examples include JSONSet for setting a value and JSONGet for getting a value.
Examples
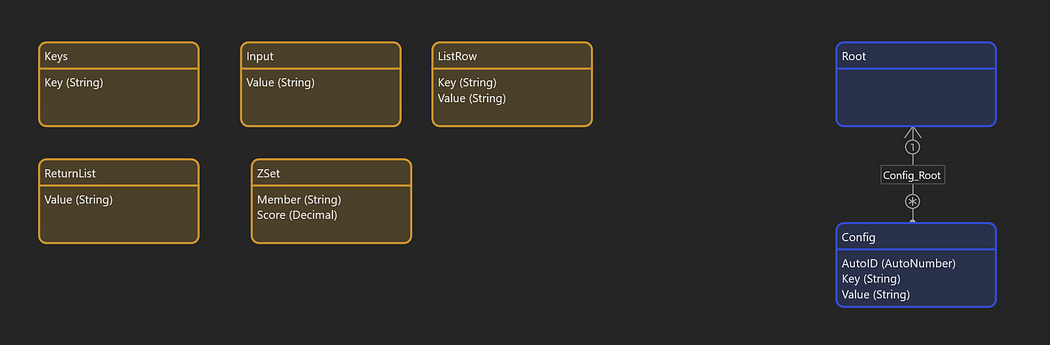
The sample Microflows makes use of a Config and Root entity in the RedisDatabaseConnector Domain:
Domain
To familiarize yourself with the module, you can make use of what is already available to create your own Config overview page, with functionality to create, edit, and delete Redis Configs. We will only be working with the entities provided from the RedisDatabaseConnector.
Start by creating a Microflow DS_Configs:
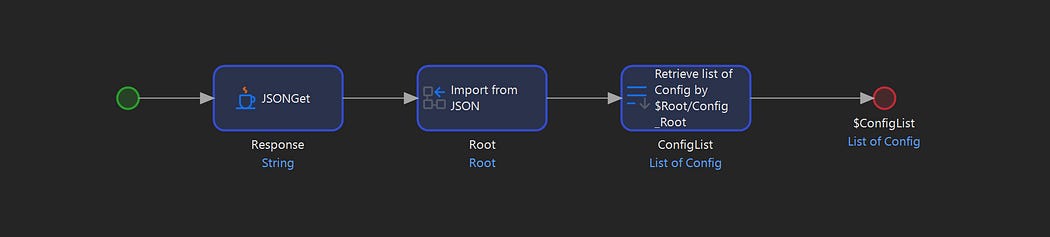
Config Data Source Microflow
Next, create an overview page with a DataGrid that uses of DS_Configs as a data source:
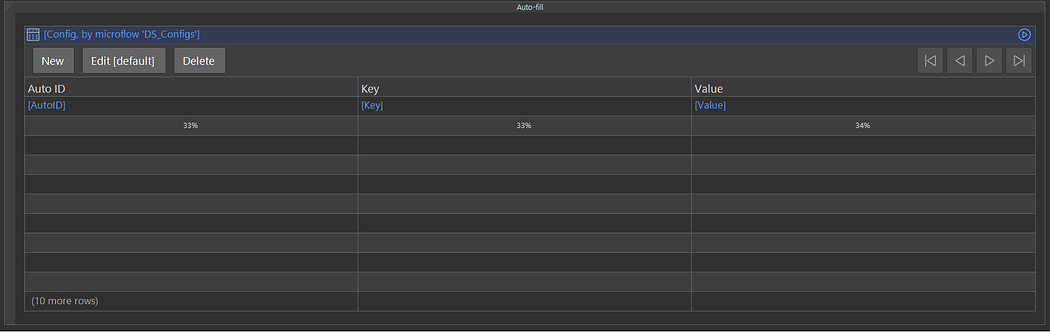
Overview Page
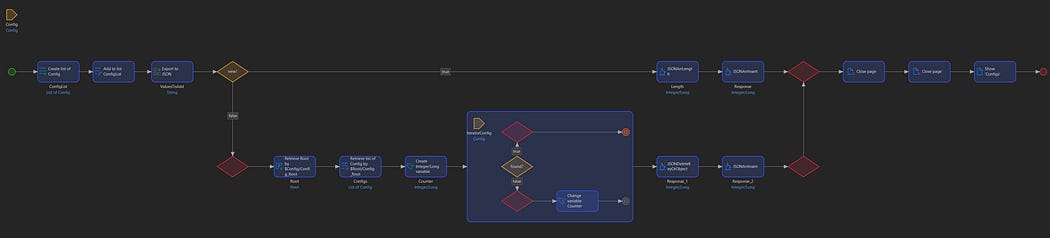
To save Configs to Redis, create a Microflow IVK_Config_Save:
Save Microflow
Here we test if a Config is new by checking of the association between Config and Root is filled. If the association is empty, we assume that this is a new Config, otherwise it already exists in Redis.
If it is a new Config, we use RedisDatabaseConnector.JSONArrLength to check the length of the Redis JSON Array, and then, using that value, we use RedisDatabaseConnector.JSONArrInsert to insert it at the end of the Redis JSON Array, otherwise we determine the position of the Config by iterating and comparing current Config AutoID field with the other Config AutoID values, delete the Config from Redis, and insert it at the same position.
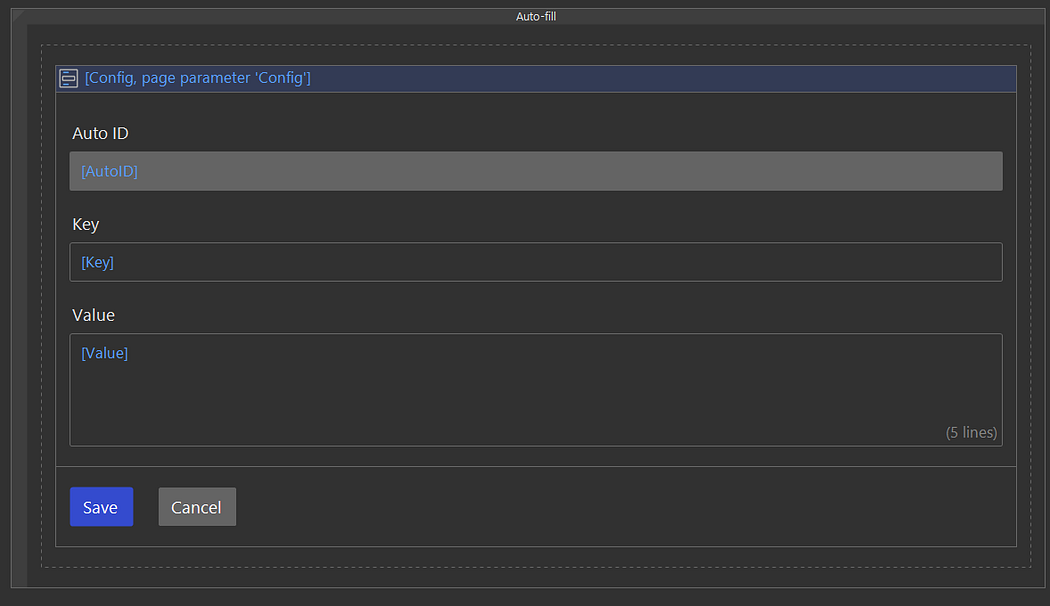
Next, you can add a default create button on the overview page and use IVK_Config_Save for the Save button:
Edit Page
Next, you can create IVK_Config_Delete, which will delete a Config from Redis:

Delete Microflow
Here, again, we determine the position of the Config as was done in IVK_Config_Save. The RedisDatabaseConnector.JSONDeleteKeyOrObject Java Action is used to delete from Redis:
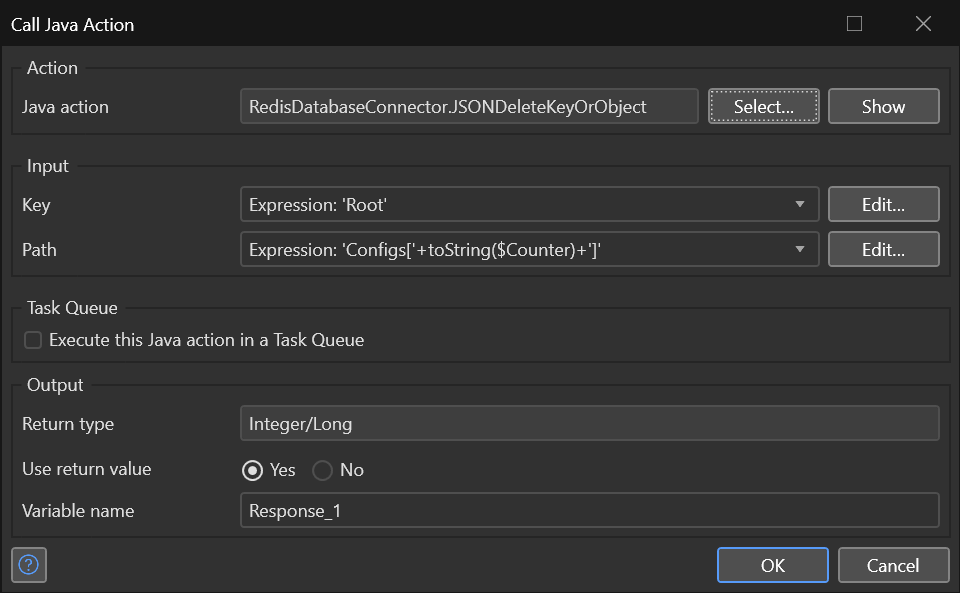
Deleting a Specific Config
With this implemented you should now have something that looks and works similar to a regular Mendix overview page.
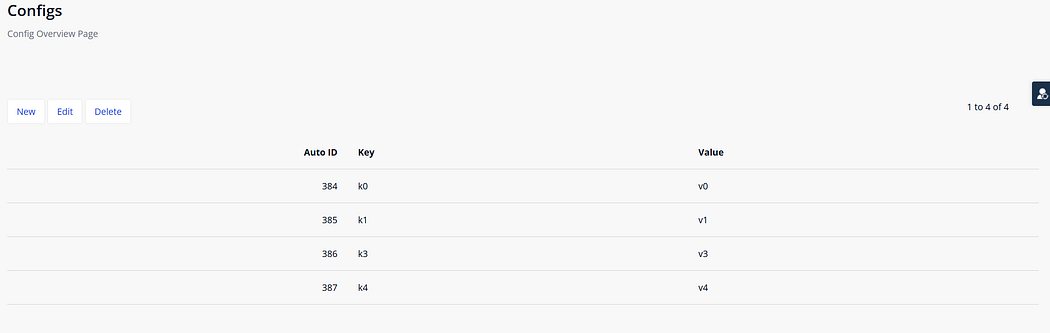
Running Example
For practical implementations the approach followed here can be much improved. Instead of using persistent entities, use non-persistent entities. Also, instead of making use of Import and Export mappings, you can write a Java Action that automatically serializes and deserializes any type of Mendix object.
References and Further Reading
https://redis.io/docs/ — Comprehensive guides, tutorials, and command references
https://redis.io/commands/ — Complete list of all Redis commands with examples


Comments
Post a Comment